google-site-verification=i1jEAa-2Rd9QY8twf1n0qvvDu1gfOLanEKHAztjPT7A
Sweet Home 3D Training
Tutorial Part 1
how to upload this plan in Sweet Home 3D Software.Create your home plans in 2D in AutoCAD programs .after print out. and this plan scan .and upload Sweet Home 3D.
1.Sweet Home 3D Software Open
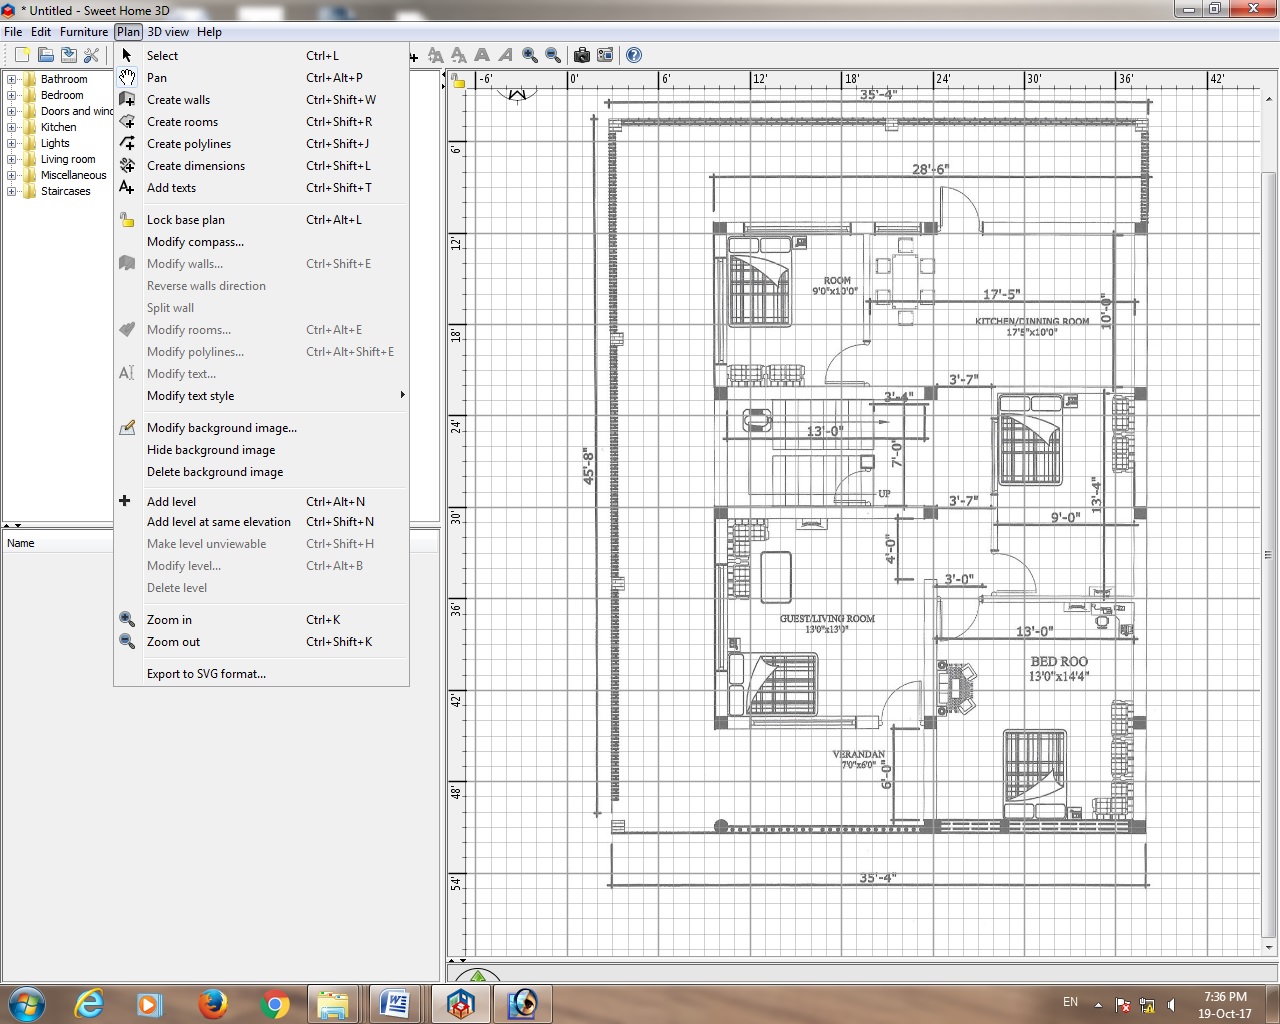
2. Go to Plan Tools Bar Click(Toolbars)
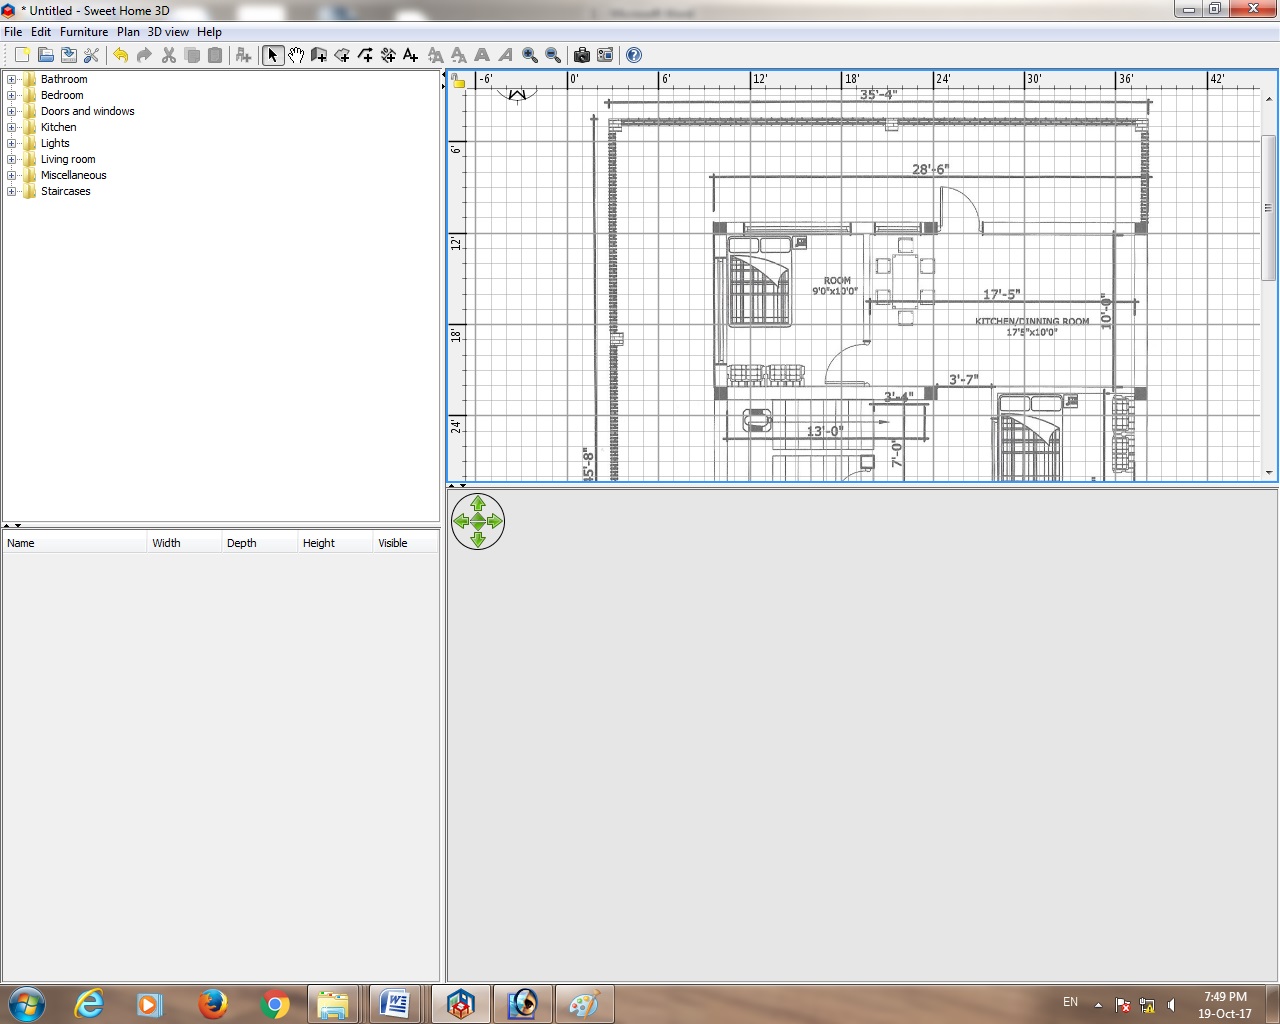
3. Import Background Image Click
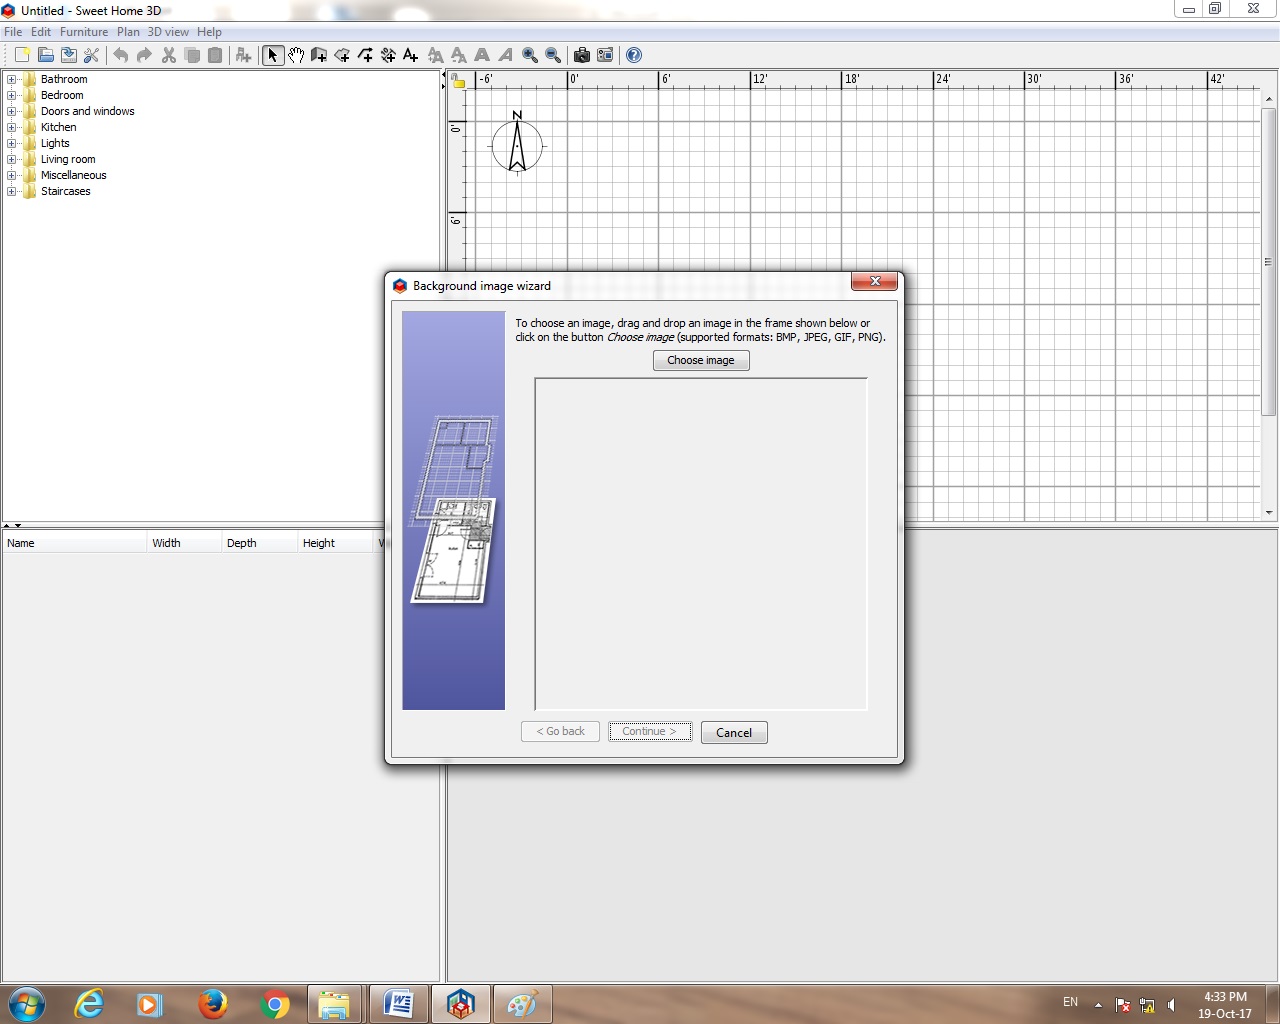
4. Background Image Wizard
To choose an image ,drag and drop an image in the frame shown below or click on the button choose image(supported formats: BMP,JPEG,GIF,PNG)
5. Choose Image Click
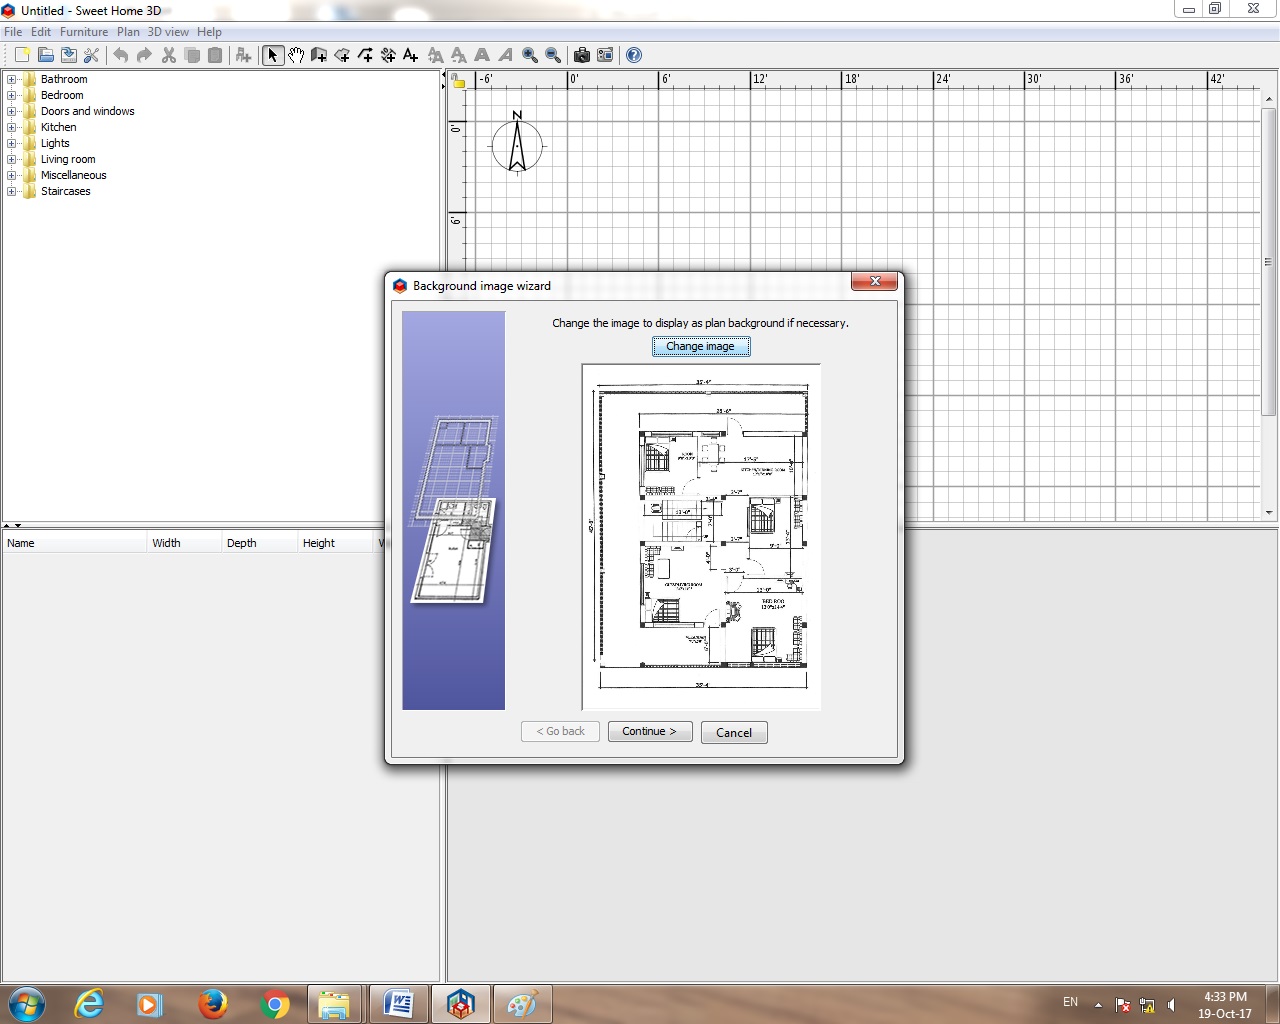
6. Ground floor plan (Image File) Select and Open
Note:(Change the image to display as plan no )
7. Continue
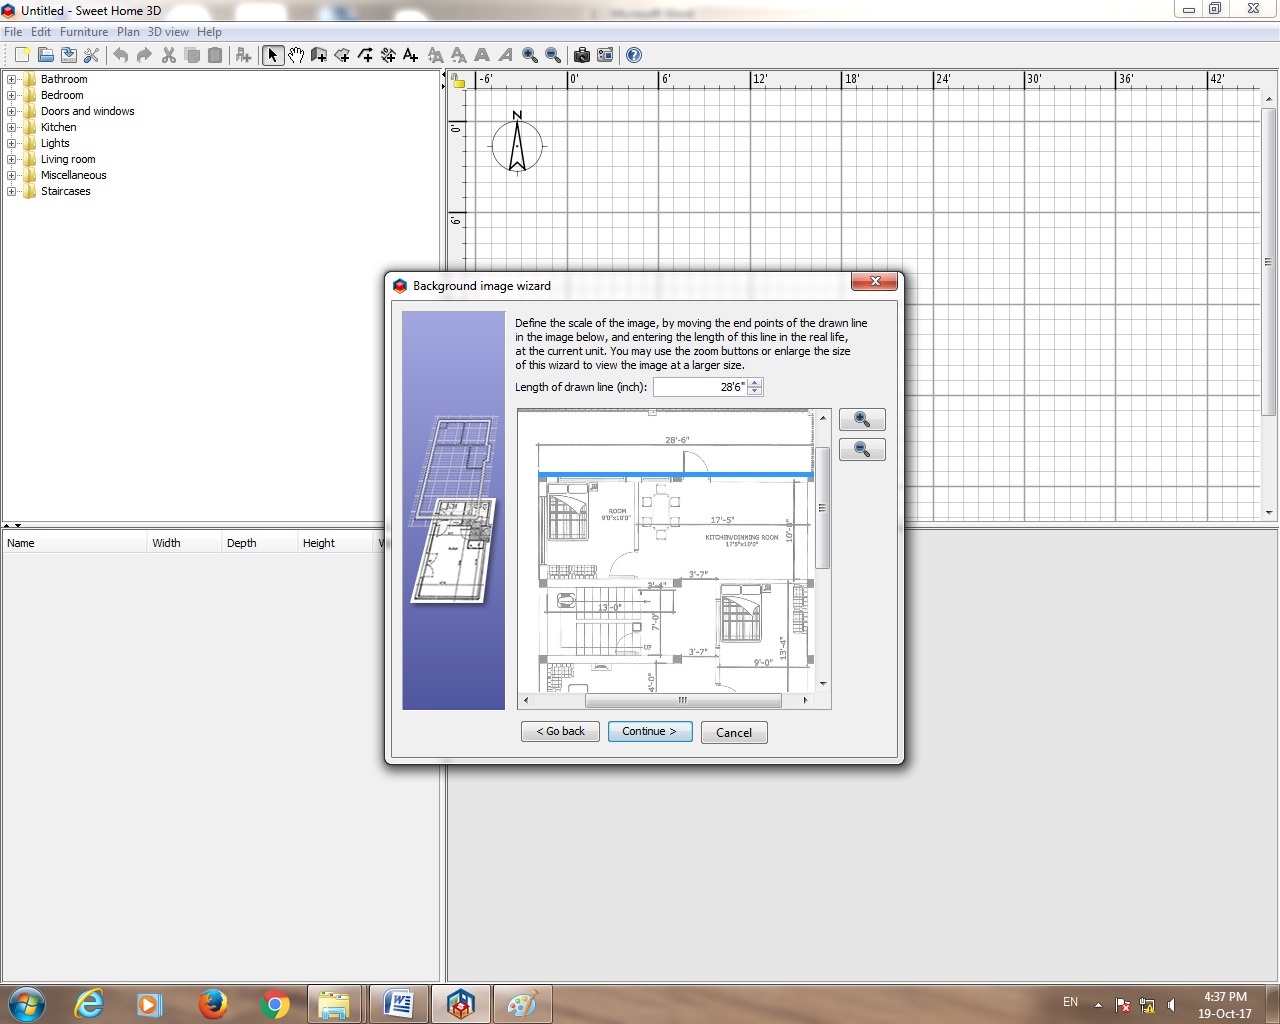
Define the scale of the image ,by Moving the end points of the drawn line in the image below ,and entering the length of this line in the real life ,at the current unit. you may use the zoom buttons or enlarge the size of this wizard to view the image at a large size
8. Length on drawn line (inch or cm )
Note: Preference Setting Unit :-Foot/Inch or Meter in put size this plan same size
1.Sweet Home 3D Software Open
2. Go to Plan Tools Bar Click(Toolbars)
3. Import Background Image Click
4. Background Image Wizard
To choose an image ,drag and drop an image in the frame shown below or click on the button choose image(supported formats: BMP,JPEG,GIF,PNG)
5. Choose Image Click
6. Ground floor plan (Image File) Select and Open
Note:(Change the image to display as plan no )
7. Continue
Define the scale of the image ,by Moving the end points of the drawn line in the image below ,and entering the length of this line in the real life ,at the current unit. you may use the zoom buttons or enlarge the size of this wizard to view the image at a large size
8. Length on drawn line (inch or cm )
Note: Preference Setting Unit :-Foot/Inch or Meter in put size this plan same size
1st Auto Cad 2007 open and house Design Plan 2D And Print Out And Home plan Scan
Open Sweet Home 3D
Go to Plan
Import Background Image
Open Sweet Home 3D
Create Walls
Select Objects in Plan
Double Click
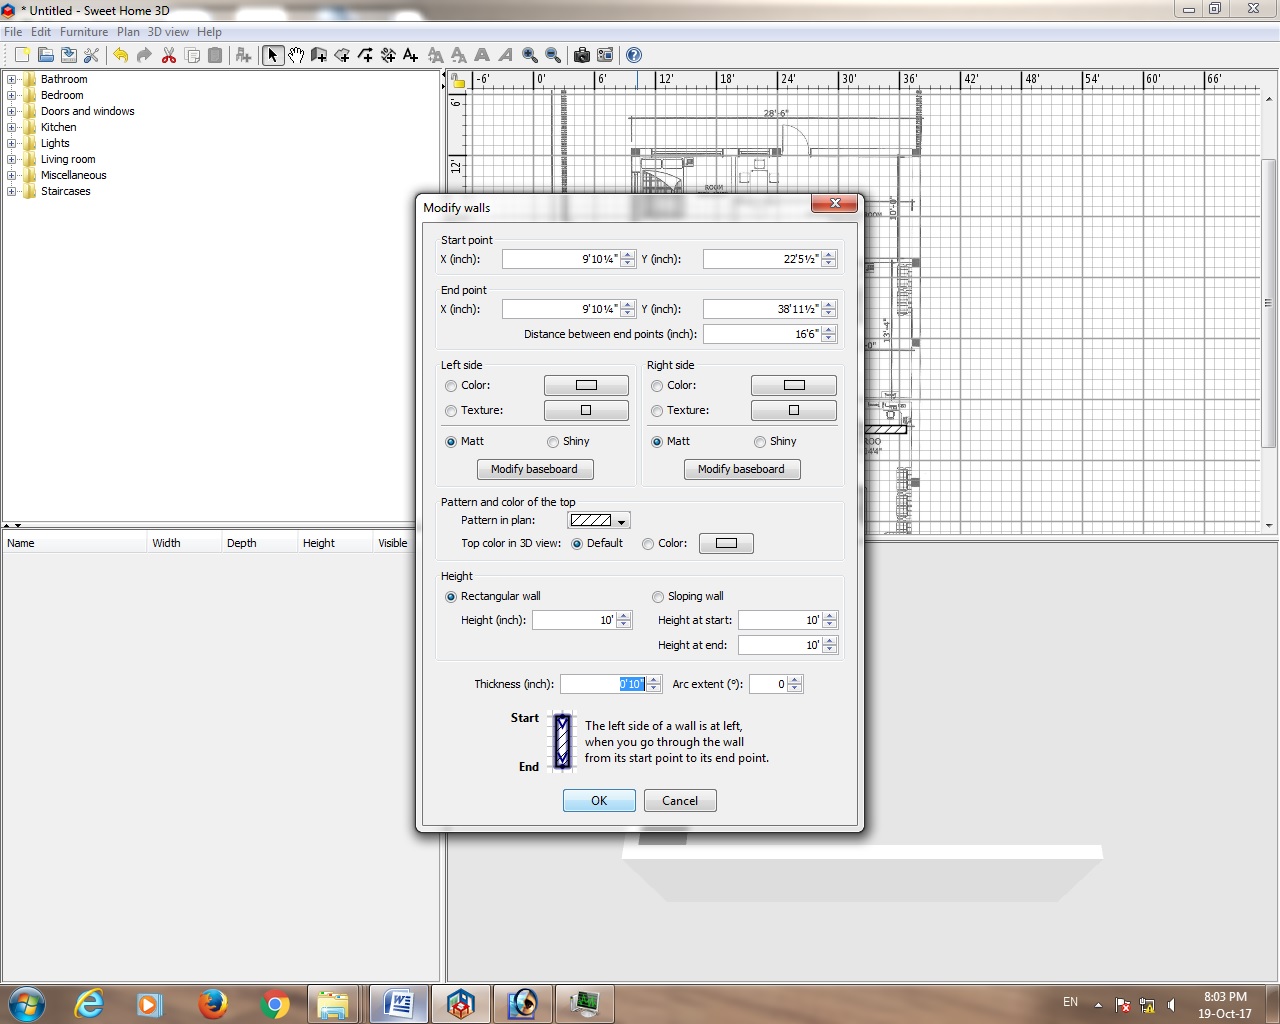
Modify Walls
Wall Height 10’
Wall Thickness -10” or 5”
Wall Height at Start -10’
Wall Height at End -10’
Wall Arc Extent (°) – 0 Degree
https://uploadrar.com/tlynb35crdx9
Sweet_Home_3D_6.0_Multilingual.
Sweet Home 3D Training Tutorial Part 1 Go To Link Click Here To video watch